


Heads up! I've decided to self-manage my blog. I'm leaving this post live as to not "break the internet" but feel free check out the post on my new blog here! blog.ericyd.com/loop-supreme-part-9-visuali..
This is part 9 in a series about building a browser-based audio live looper
Part 9: Visualizing the waveform
Goal
Create a waveform visualization, and redesign the app to make it feel more user friendly
Implementation
The task of visualizing the waveform was really fun for me - it was just the kind of semi-mathy-but-low-stakes work that I love.
I've seen many examples online and several SO answers that draw values to a canvas to visualize a waveform. The general pattern is one "sample" (which might be a grouping of actual audio samples) is drawn as a fixed-width rectangle, with the height being determined by the amplitude.
The rectangles-on-a-canvas pattern works totally fine, but I have an unjustifiable love for SVG and I felt like it was a superior medium for drawing scalable waveforms. The other benefit is that an SVG waveform could be stretched to fit variable aspect ratios, which works much better for a web app where the window dimensions are unknown and highly variable.
I knew the general requirements were:
Ingest frames (blocks of samples) at about 60hz (the
RecordingProcessoraudio worklet is responsible for publishing this data back to the app)Normalize the frames in realtime. I don't know the bounds of the gain on a web audio input. In my experience the absolute gain values are << 1, but I didn't know if this was universally true. Normalizing on the fly would prevent the need to guess.
Scale the points to the correct x-axis dimensions based on the expected number of frames in the loop
Create a string to represent the
dattribute of the SVG path
Each of these steps are relatively processor intensive, so I reached for... (drumroll 🥁)... a Worker! Delegating all this processing to a worker ended up being really nice because I didn't have to think much at all about serious optimizations, since all the major number crunching would be happening on a separate thread. You can see the completed waveform worker here.
The most challenging part of this was mentally mapping the data flow. In a UTM-style diagram, it looks like
[ Recording ]    [ App ]   [ Waveform ]
[ Processor ]       |      [  Worker  ]
      |             |             |
  Publish frame --> |             |
      |             |             |
      |       Publish frame ----> |
      |             |             |
      |             |         Collect frame
      |             |             |
      |             |         Normalize and
      |             |         scale horizontally
      |             |             |
      |             |         Generate SVG
      |             |         path of smooth
      |             |         cubic bezier points
      |             |             |
      |             |  <----  Publish path
      |         Update `d`        |
      |         attribute in      |
      |         SVG path          |
  (repeat)
The end result was simple and effective, just like I wanted.
Redesign
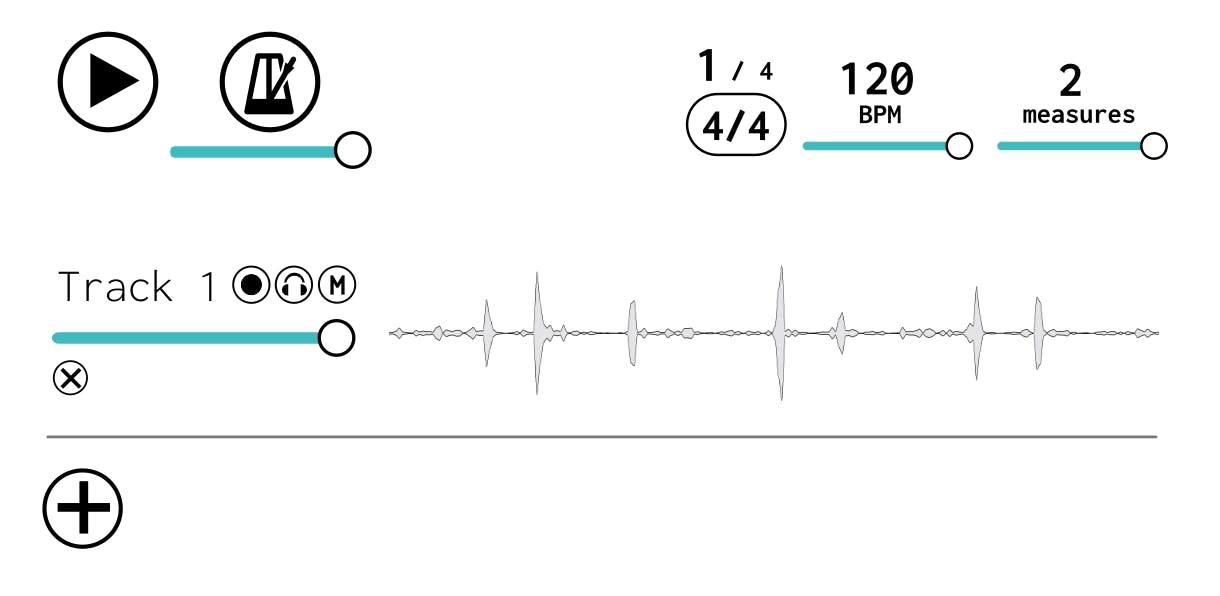
In addition to visualizing the waveform , I redesigned the app. A fun thing I tried that I've never done before is actually drawing out a mockup of my design idea before I coded it up. This ended up being super helpful! Instead of trying to code and design at the same time, I was able to look at things from a higher level and make choices about layout that I probably wouldn't have made if I had been coding it at the same time. It was easy to experiment with layout variations, which would be impossible with coding. I'll definitely be doing this for future projects where I care about the layout. Of course, I'm not a designer, and the final product could still use work, but I'm happy with the overall effect.
Here was the impact of the redesign
Before
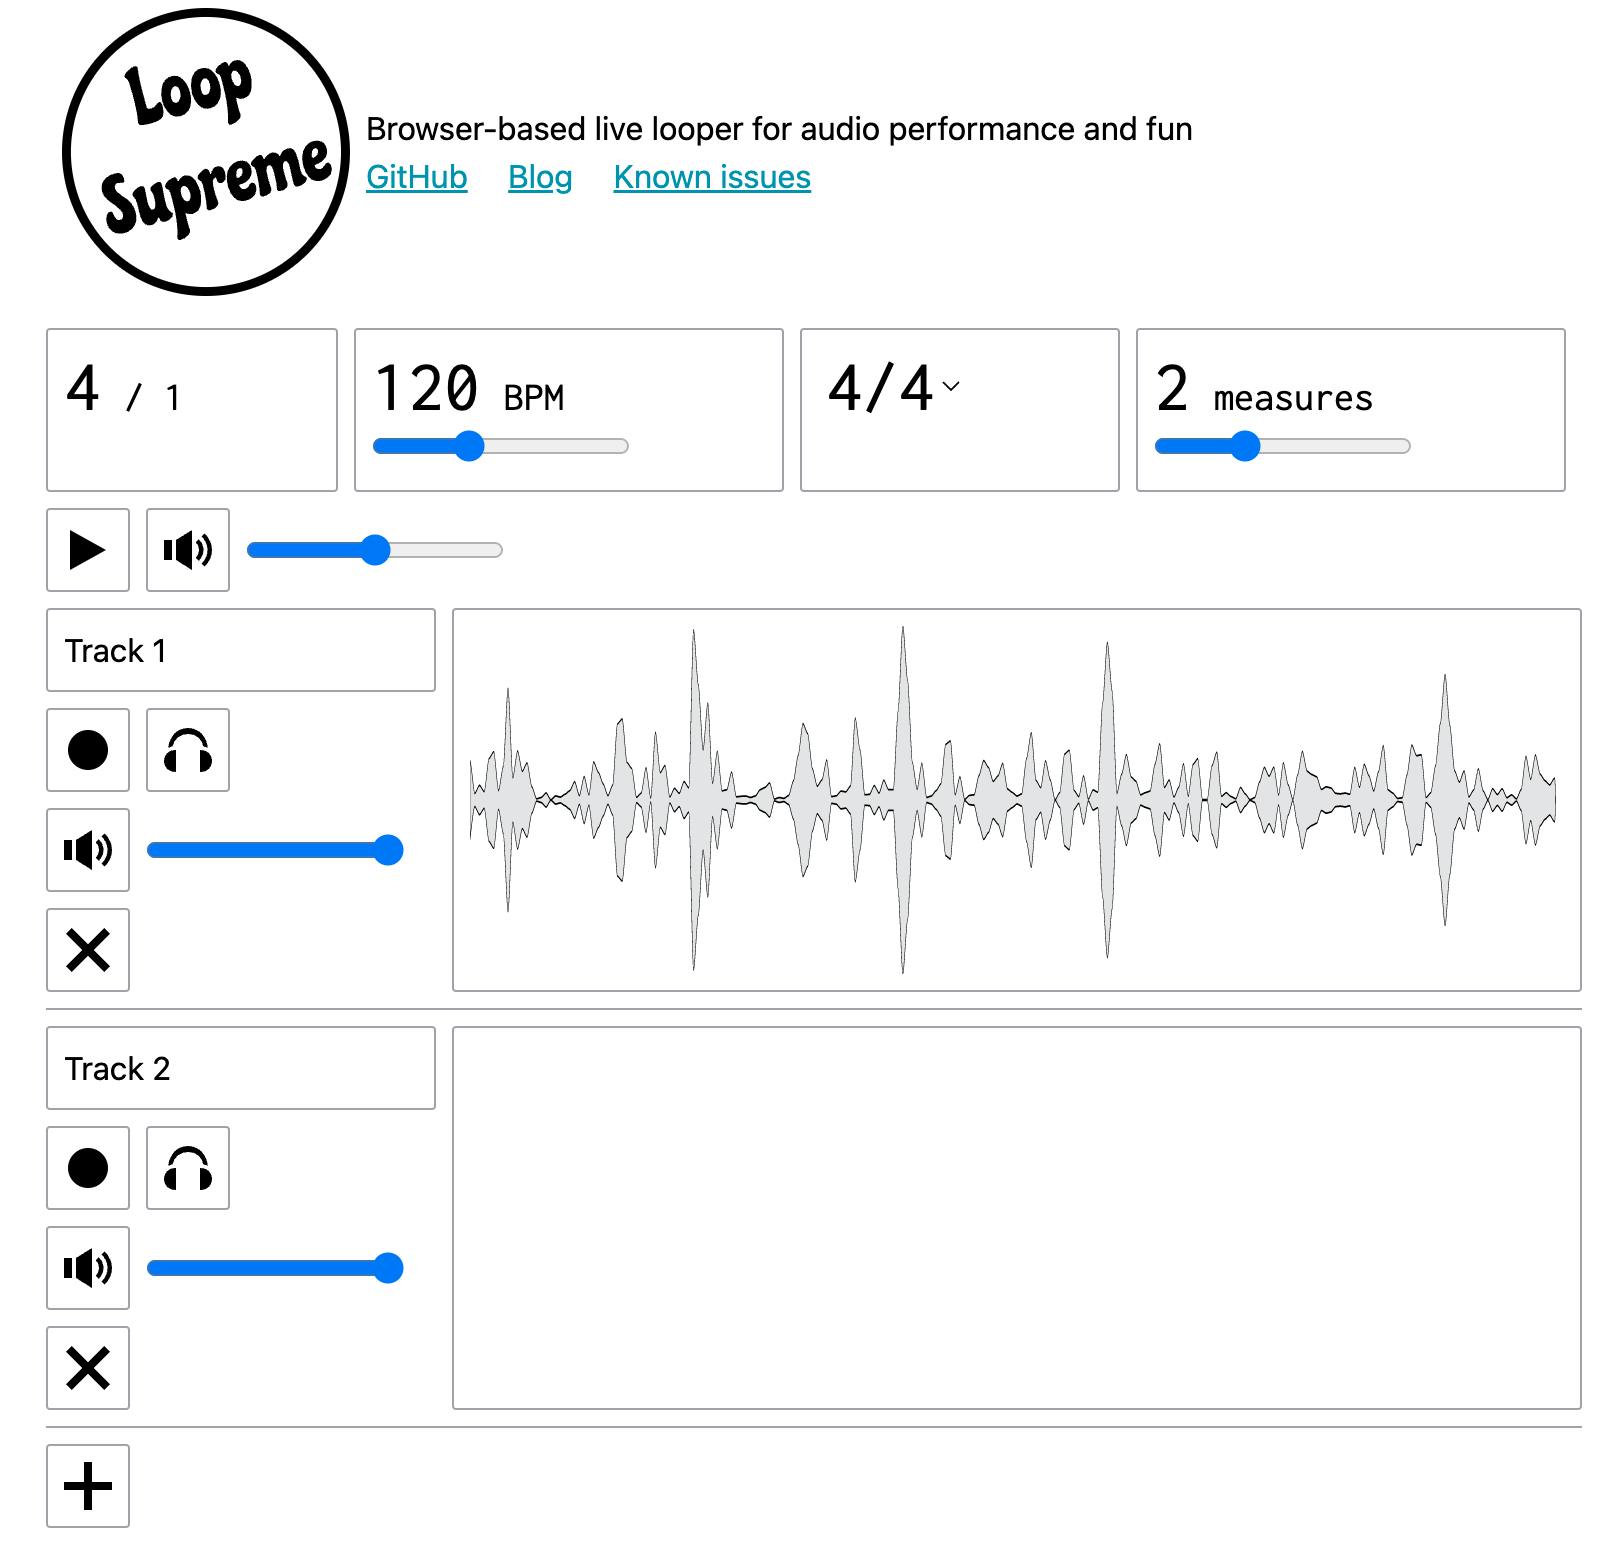
After
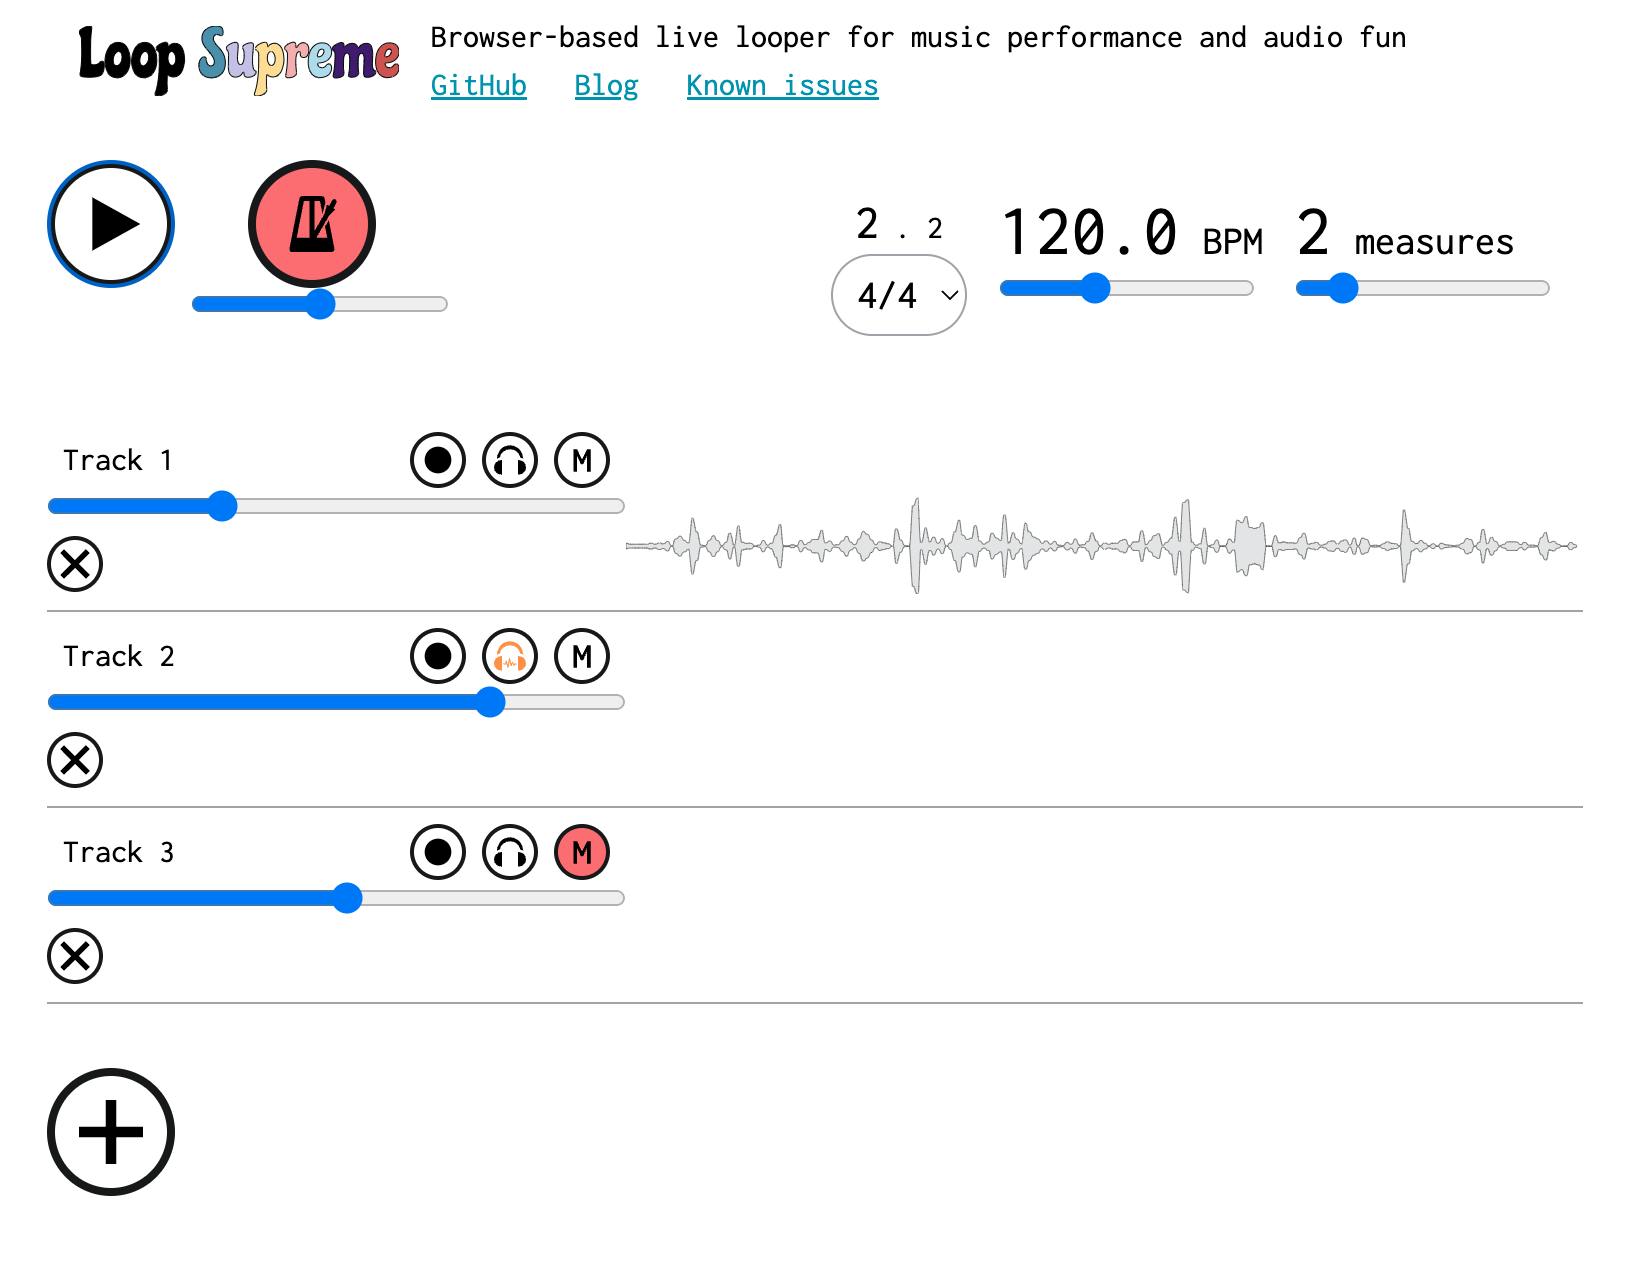
Mockup
Learnings
- Always
useMemowork Workers! My first instinct (and the way I developed it originally) was to useuseReffor the Workers. Workers are not mutable, but I wanted to make sure I wasn't re-instantiating the Worker on each render. However, what I failed to realize is thatuseRefis still called on each render - the difference is that it still returns the same value. Since I was using the pattern ofuseRef(new Worker(...)), the Worker script was being loaded on each render of the component 😱. The script of course was cached, but it led to a bunch of additional network activity that wasn't intended. I moved the Workers intouseMemohooks and it worked as expected. The only real change this introduced is that the memoized workers now need to be included in dependency arrays for hooks likeuseEffectoruseCallback. This is fine though; in my eyes its more of a formality since Workers will never change.
State of the app
Merged PRs
Waveforms are now visualized during recording
The app looks much nicer (IMO). One concrete win: Tracks are much slimmer, which means more of them can fit on a monitor
Next steps
- During testing I realized that the loops must be trimmed to the length of the loop. I've hypothesized about this before but now it has been experimentally proven. This will be the next important change to make it usable for music performance.